Microsoft Word is known for creating documents related to studies, work, or other fields. Users love to use it because it is convenient when editing a text document. It can correct the structure, spelling, and grammar of your sentences.
Other users think that Microsoft Word can only create text documents. Here's an informative trivia you must know! The program can also add images to the document without losing its quality.
Moreover, the program can also compress images on your computer to reduce its file size. Is this your first time knowing it? Well, it is time to learn how to reduce picture file size in Word to save space on your storage space. Please scroll down below.
Part 1. How to Compress Pictures in Word
Here's the good news! Microsoft Word offers 2 methods to compress your images. You do not have to worry because neither requires additional tools to execute. In this case, you will save more storage space on your computer. See the separate methods to compress pictures in Word below.
Compress The Photos
Microsoft Word has a built-in compressor tool to resize the images you prefer to add to your document. You can access it through the Picture Tools feature. In this process, you do not need to enter the width and length you prefer for your photos. You only need to click the feature; the program will compress the images to make them smaller. See how below.
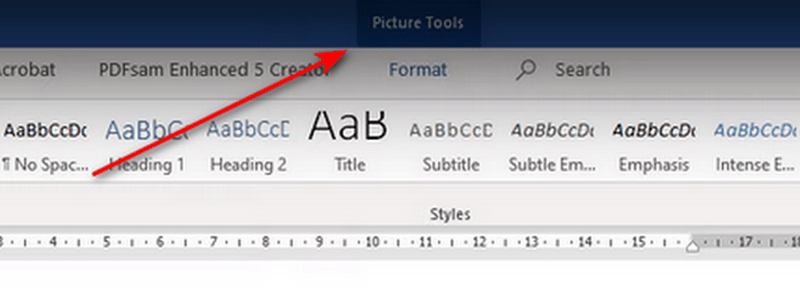
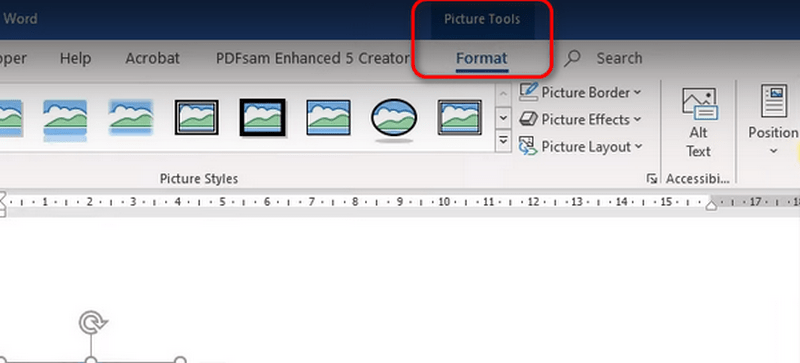
Step 1Launch Microsoft Word and open the document where you want to compress the images. After that, please click the picture you want to compress. The Picture Tools feature at the top center will automatically appear. Later, click it to see more options for your images.
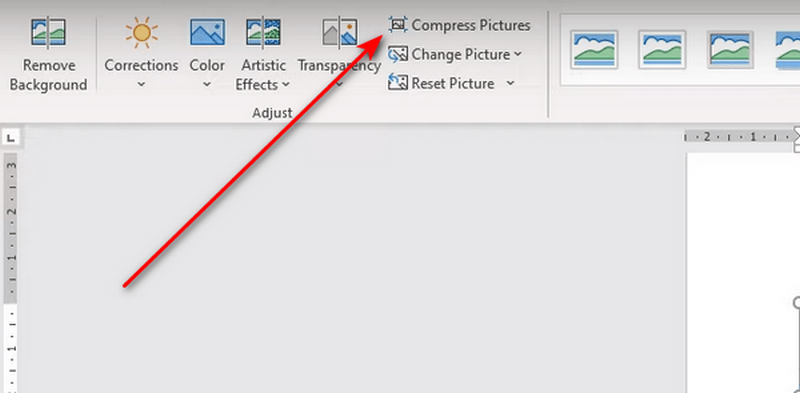
Step 2Click the Format button at the top, and the drop-down options associated with it will be shown. Later, select the Compress Pictures button on the left of the main interface. The Word images will be compressed after a few seconds.
Resize The Images
You can also compress the images in Microsoft Word by changing their width and length to a lower size. The process is almost the same as the previous method. However, they only differ in the tool used for the compression process. Please see their difference by following the detailed steps below.
Step 1Open the Word document where you have the images you want to resize. After that, please click the picture on the document to see the Picture Tools at the top center of the main interface. Click it and the Format button under it.
Step 2In the right corner, you will see the Width and Height section on the screen. Please enter the cm size you prefer for your images. Please press the Enter key on your computer keyboard to apply the changes.

Part 2. Limitations of Using Word to Compress Images
Whenever you import images on Microsoft Word, their quality will be the same. However, once you compress the photos, you will lose the original quality because Word uses lossy compression only.
In addition, Microsoft Word has limited control over compression settings. It means you cannot adjust the compression settings depending on your preference. Also, it has limited file formats that support it. It only includes the JPEG, GIF, and PNG.
The most important information you should know is that when you compress images in Word, you will no longer have the chance to edit the original files. It is better to create a backup for the images for their safety.
Part 3. Better Way to Compress Images on A Computer
Image qualities are important, especially if you use them in an important matter. Blurry images can make the document horrible. Do you want to compress images on your computer without losing quality? Use the online tool AVAide Image Compressor. It helps you a lot since you are lessening the file size on your computer because you do not need to download it. You only need an internet connection to make it function.
This image compressor supports multiple image formats that are commonly used. It includes the JPG, PNG, and GIF formats. Now, please imitate the detailed steps below to know the image compressor function.
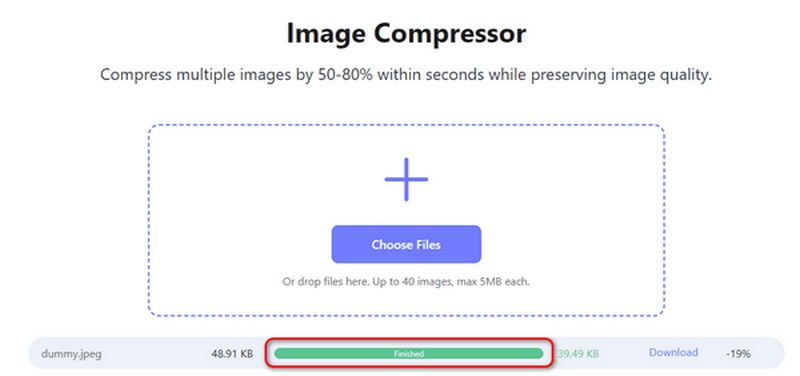
Step 1Please go to the main website of AVAide Image Compressor. Familiarize yourself with the interface. After that, please click the Choose Files button at the center of the screen. The computer album will be shown. Import the images you prefer to compress afterward.
Step 2The image compressor online tool will process the images for a few seconds. It still depends on the speed of the internet connection. You will see the Finished section at the bottom if the process is complete.
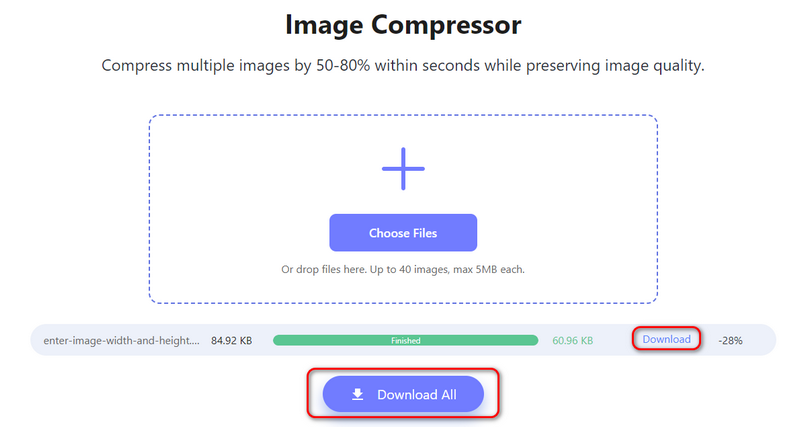
Step 3Then, it is time to save the compressed images on your computer. If so, click the Download All button at the bottom if you compressed multiple files. But if you prefer to save one file, please choose the Download button on the right side of the image files.
Part 4. FAQs about Word Compress Images
Can you resize many pictures at once in Microsoft Word?
Yes. You can compress pictures at once in the Microsoft Word program. You only need to open the document and upload the images you prefer to resize. After that, select all of them by pressing the Ctrl key on your keyboard and clicking each photo. Choose the Picture Tools button and click the Format button. Options will be revealed, and select the Compress Pictures button at the top left.
How do I select multiple images in Word?
You can select multiple images in Word and import them through the computer album. First, open the computer album and the Word program. After that, locate the pictures you prefer to input on the document. Later, you can click and hold the computer mouse to select multiple photos. Also, you may press the Ctrl key on your keyboard once choosing the pictures. Drag and drop them afterward to import them to the Word.
How do I change the default image size in Word?
You may change the default image size in Word by clicking the File button at the top left. After that, select the Options button at the top. On the revealed options on the left of the main interface, please choose the Advanced button. Later, please locate the Image Size and Quality section at the bottom. Go to the Default Resolution and click the High Fidelity section. Choose the image size on the drop-down options afterward on the screen.
Learning how to make a picture smaller in Word is a bit demanding. Some multiple tools and features need to be executed. Sometimes, using them is a bit confusing because of how many they are. But we hope this post made the process simpler and easier to understand because of the details of the steps. You will also see the limitations of the picture compression of the mentioned program and its leading alternative for compressing images: AVAide Image Compressor.

Reduce the file size of an image online within seconds while preserving the quality. We support JPG, PNG, WEBP, GIF, and more.
TRY NOW