큰 파일이 iPhone의 공간을 차지하기 때문에 비디오 저장 관리가 어려울 수 있습니다. 이 문서에서는 비디오를 압축하는 세 가지 효과적인 방법을 다룹니다. 1부에서는 사전 설치된 강력한 무료 애플리케이션인 iMovie를 사용하여 압축하는 방법을 설명합니다. 2부에서는 비디오의 원래 품질은 손상되지 않지만 파일 크기는 여전히 작은 압축 모범 사례를 다룹니다. 마지막으로 3부에서는 이동 중에 비디오 압축을 처리하는 특수 기능을 제공하는 타사 앱에 대해 설명합니다. 저장 공간을 확보하든, 공유 속도를 개선하든, 고품질 비디오를 보관하든 이러한 기술은 모든 요구 사항에 대한 따르기 쉬운 솔루션을 제공합니다. 배우기 iPhone에서 비디오를 압축하는 방법 아래 내용을 엄격히 준수해 주시기 바랍니다.
1부: iMovie에서 iPhone의 비디오를 압축하는 방법
iMovie를 사용하면 몇 가지 간단한 단계만으로 iPhone의 비디오를 쉽게 압축할 수 있습니다.
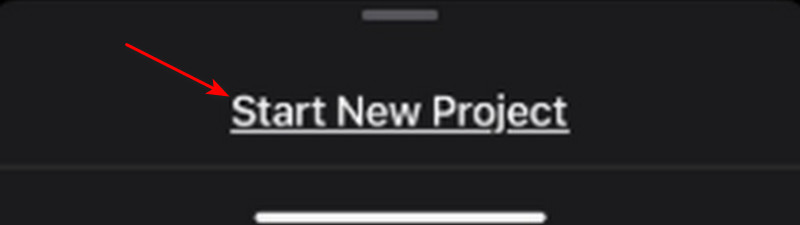
1 단계iPhone에 iMovie 앱을 설치했는지 확인하세요. 이제 앱을 엽니다. 더하기 기호를 탭하여 클릭하세요. 새 프로젝트 시작 그리고 선택 영화.
2 단계탭 영화 만들기 버튼을 누릅니다. 그런 다음 + 비디오를 추가하라는 표시가 있습니다. 라이브러리에서 비디오를 선택합니다. 필요한 경우 자르거나, 필터를 적용하거나, 크기를 조정하여 더 작게 만듭니다.
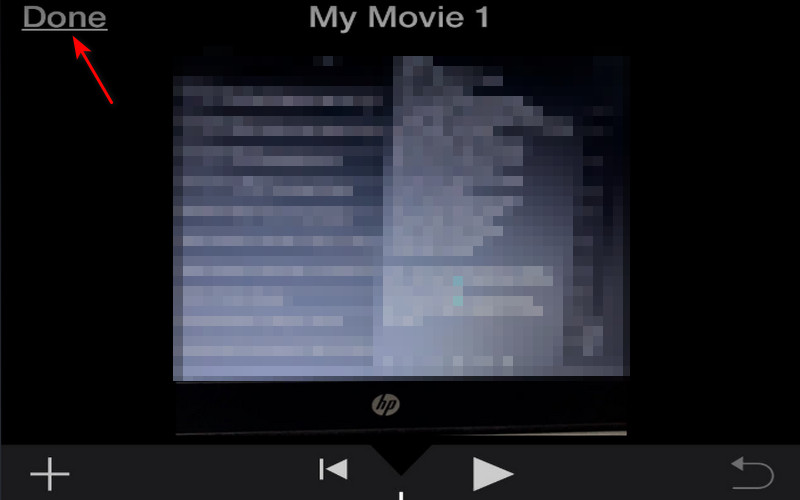
3단계수도꼭지 완료, 공유/내보내기 아이콘을 탭합니다. 비디오 저장 그런 다음 더 낮은 해상도를 선택하여 비디오를 압축합니다. 비디오는 훨씬 더 작은 파일 크기로 선택한 해상도로 저장됩니다.
2부: 고품질을 유지하면서 iPhone 비디오를 압축하는 가장 좋은 방법
AVAide 비디오 컨버터 출력 품질을 손상시키지 않고 비디오 파일을 쉽게 압축하는 다재다능한 애플리케이션입니다. 프로젝트, 개인 녹음 또는 다운로드 가능한 미디어에서 전문적인 비디오 파일을 압축하기 위해 AVAide는 시각적 또는 오디오 충실도를 크게 잃지 않고 파일 크기를 효율적으로 줄입니다. AVAide Video Converter는 고급 알고리즘을 사용하여 가장 높은 압축 속도와 가장 중요한 비디오 세부 정보를 제공합니다. 따라서 대규모 멀티미디어 프로젝트의 전문가와 저장 공간을 절약하려는 모든 사용자에게 매우 유용합니다. 이 애플리케이션은 또한 여러 비디오를 동시에 압축할 수 있는 일괄 처리를 지원하여 사용자의 시간과 노력을 크게 절약합니다.
1 단계첫 번째 단계는 아래의 다운로드 버튼을 클릭하여 애플리케이션을 다운로드하는 것입니다. 앱을 다운로드한 후 실행합니다. 데스크톱에 나타나는 앱 아이콘을 클릭하기만 하면 됩니다.

 안전한 다운로드
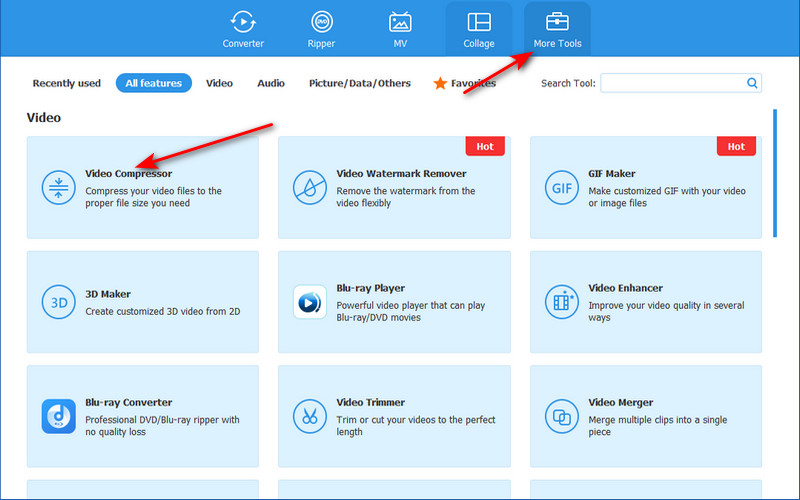
2 단계도구를 실행하면 메인 인터페이스가 표시됩니다. 클릭하세요 더 많은 도구 그리고 찾아 비디오 압축기. 비디오 압축기에 액세스하고 큰 버튼을 클릭하여 압축하려는 비디오를 가져오기만 하면 됩니다. + 버튼. 이 버튼을 클릭하면 디렉토리가 열리고 파일을 탐색할 수 있습니다.
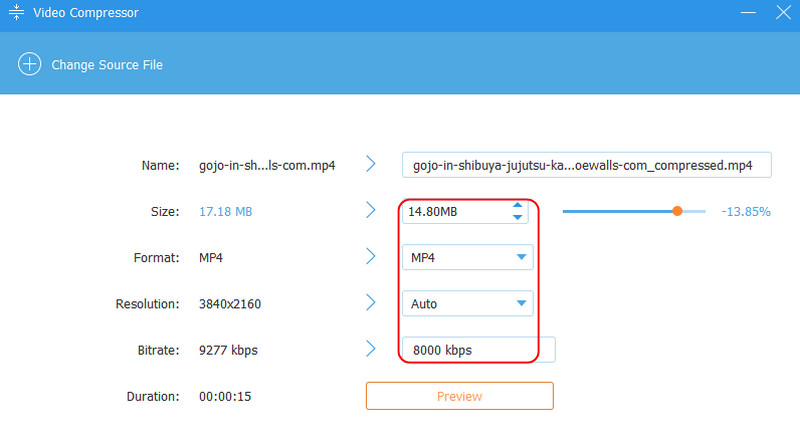
3단계파일을 가져온 후에는 비디오의 크기, 해상도, 비트레이트, 형식을 조정할 수 있습니다. 전용 버튼을 토글하기만 하면 이러한 설정을 원하는 대로 조정할 수 있습니다.
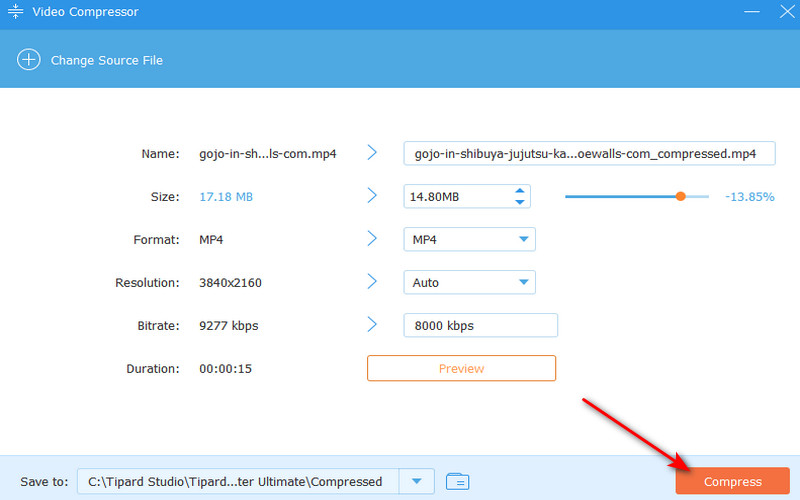
4단계파일 설정을 조정한 후 압축할 수 있습니다. 압박 붕대 응용 프로그램 창의 오른쪽 하단에 있는 버튼을 클릭합니다. 압축된 파일은 응용 프로그램의 로컬 디렉토리에 저장됩니다.
3부: iPhone에서 타사 앱을 사용하여 iPhone에서 비디오 압축하기
비디오 압축
Video Compress는 iPhone에서 비디오 파일 크기를 압축하는 강력한 애플리케이션입니다. 일반적으로 훨씬 더 많은 저장 공간을 차지하는 고화질 비디오를 처리하기 때문에 사용자들에게 인기 있는 선택입니다. 이 앱은 사용자가 비디오와 원하는 압축 수준을 쉽게 선택하여 품질 대 파일 크기에 이상적인 균형을 이룰 수 있는 매우 간단한 인터페이스를 갖추고 있어 뛰어납니다. Video Compress를 사용하면 사용자는 파일 크기의 변화를 실시간으로 미리 볼 수 있으므로 압축 설정이 출력에 어떤 영향을 미치는지 정확히 알 수 있습니다. 이 앱은 iPhone 비디오를 압축하는 방법을 배우는 데 분명 도움이 될 것입니다.
1 단계먼저, 휴대폰 마켓플레이스에서 이 앱을 받으세요. 다운로드가 완료되면 휴대폰 메인 화면에 아이콘이 나타나서 탭하여 애플리케이션을 열 수 있습니다.
2 단계앱을 실행하면 기본 인터페이스가 표시되고 다음이 표시됩니다. 주황색 버튼을 클릭합니다. 해당 버튼을 클릭하여 비디오를 가져옵니다. 이 버튼을 클릭하면 갤러리로 이동하여 압축하려는 파일을 선택할 수 있습니다.

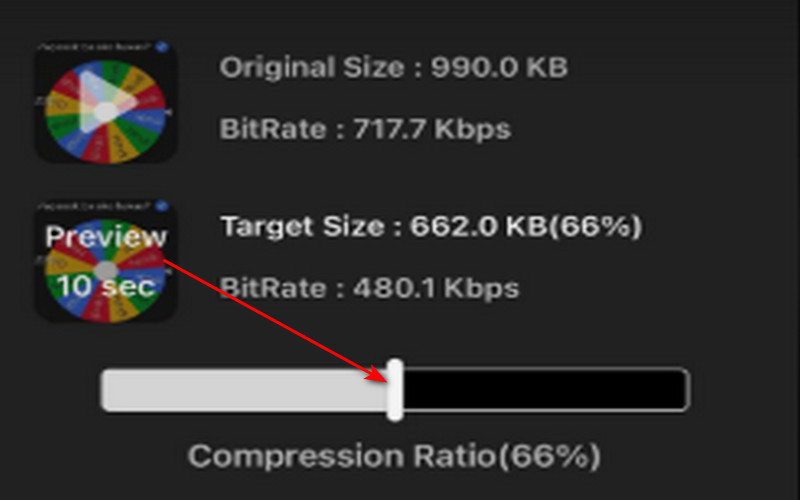
3단계비디오를 가져온 후에는 이제 압축 비율을 선택할 수 있습니다. 간단히 토글 압축 비율 출력 비디오 아래의 슬라이더.
4단계압축 비율 설정을 마치면 이제 비디오를 내보낼 수 있습니다. 내보내다 앱 인터페이스의 오른쪽 상단 모서리에 있는 아이콘을 클릭합니다. 출력 비디오는 갤러리에서 볼 수 있습니다.
비디오 압축 및 비디오 크기 조절
Compress Videos and Resize Videos는 iPhone에서 탁월하고 매우 편리하며 효율적인 비디오 크기 축소기입니다. 이는 거대한 저장 공간을 차지하는 고화질 비디오를 끊임없이 다루는 사용자에게 적합합니다. 인터페이스가 단순하여 모든 사용자가 압축할 비디오와 품질과 파일 크기 사이에서 원하는 압축 수준을 매우 쉽게 선택할 수 있다는 점에서 다릅니다.
Compress Videos and Resize Videos를 사용하면 사용자는 다양한 압축 설정에서 실제 출력으로 인해 발생하는 실시간 업데이트로 파일 크기 변경 사항을 미리 보고 확인할 수 있습니다. 이 기능을 사용하면 iPhone에서 비디오를 압축하는 데 아무런 문제가 없습니다.
1 단계첫 번째 단계는 앱을 앱 마켓에 다운로드하는 것입니다. 앱을 다운로드한 후 홈 화면에서 앱을 찾습니다. 찾은 후 앱 아이콘을 클릭하여 실행합니다.
2 단계앱을 실행하면 다음과 같은 내용이 표시됩니다. 압축할 비디오 선택 비디오를 가져올 수 있는 버튼입니다. 이 아이콘을 클릭하면 갤러리로 이동하며, 여기서 압축할 비디오를 선택할 수 있습니다.
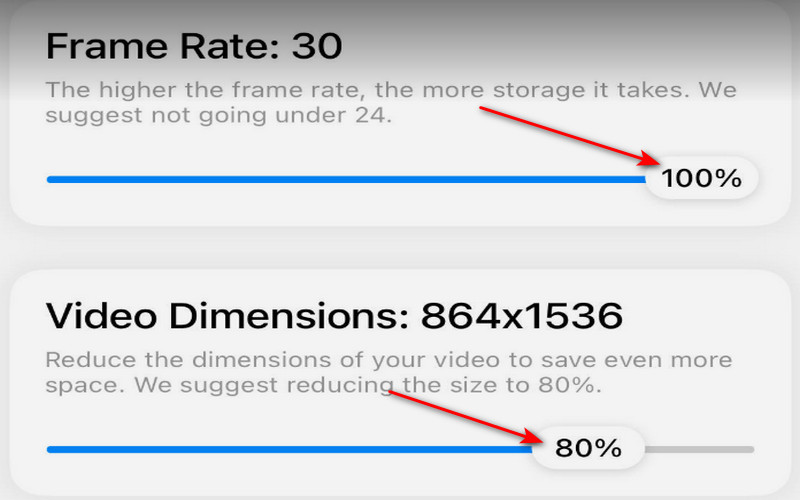
3단계압축하려는 비디오를 선택한 후 이제 프레임 속도와 비디오 크기를 조정할 수 있습니다. 슬라이더를 토글합니다. 프레임 속도 그리고 비디오 크기.
4단계원하는 설정을 전환한 후 비디오 내보내기를 시작할 수 있습니다. 그러려면 다음을 클릭하세요. 압박 붕대 앱 인터페이스 하단의 버튼.

이 기사를 읽은 후에는 다음 사항을 배웠기를 바랍니다. iPhone에서 비디오를 무료로 압축하는 방법. 프로세스를 따라가는 데 어려움이 있다면 언제든지 이 기사를 확인할 수 있습니다. 또한, 비디오를 압축하는 데 어려움을 겪고 있는 친구들과 이 기사를 공유할 수도 있습니다.
무손실 품질의 변환을 위해 350개 이상의 형식을 지원하는 완벽한 비디오 도구 상자입니다.