Con file di grandi dimensioni che occupano spazio sul tuo iPhone, la gestione dell'archiviazione video può essere dura. Questo articolo affronta tre modi efficaci per comprimere i tuoi video. La parte 1 spiega come comprimere utilizzando iMovie, la potente applicazione gratuita preinstallata. La parte 2 affronta le best practice per la compressione in modo che i tuoi video non perdano la loro qualità originale ma siano comunque di piccole dimensioni. Infine, la parte 3 discute di app di terze parti che offrono funzionalità specializzate per gestire la compressione video in movimento. Che tu stia liberando spazio di archiviazione, migliorando la velocità di condivisione o mantenendo video di alta qualità, queste tecniche forniscono soluzioni facili da seguire per tutte le tue esigenze. Scopri come comprimere un video su iPhone seguendo scrupolosamente i contenuti sottostanti.
Parte 1: Come comprimere un video su iPhone in iMovie
Con iMovie puoi comprimere un video dal tuo iPhone senza troppi problemi e seguendo pochi semplici passaggi.
Passo 1Assicurati di aver installato l'app iMovie sul tuo iPhone. Ora, apri l'applicazione. Tocca il segno più cliccando Inizia un nuovo progetto e scegli Film.

Passo 2Toccare il Crea filmato pulsante. Quindi, tocca il + cartello, che dice aggiungi il tuo video. Seleziona il video dalla tua libreria. Ritaglia, applica un filtro o ridimensionalo per renderlo più piccolo, se necessario.
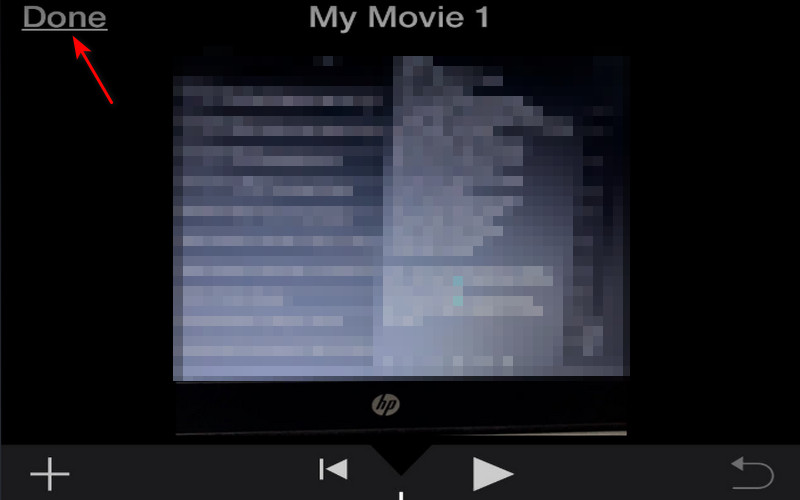
Passaggio 3Rubinetto Fatto, quindi l'icona condividi/esporta. Tocca Salva il video e quindi seleziona una risoluzione più bassa per comprimere il video. Il video verrà salvato nella risoluzione selezionata con una dimensione del file molto più piccola.
Parte 2: Il modo migliore per comprimere i video dell'iPhone mantenendo un'alta qualità
AVAide Video Converter è un'applicazione versatile che comprime facilmente i file video senza compromettere la qualità di output. Per comprimere file video professionali da un progetto, registrazioni personali o media scaricabili, AVAide riduce in modo efficiente le dimensioni del file senza troppa perdita di fedeltà visiva o audio. AVAide Video Converter utilizza algoritmi avanzati per fornire la massima velocità di compressione e i dettagli video più importanti. È, quindi, molto utile per i professionisti in progetti multimediali su larga scala e per qualsiasi utente che desideri risparmiare spazio di archiviazione. Questa applicazione supporta anche l'elaborazione batch, in cui più video possono essere compressi contemporaneamente, risparmiando agli utenti molto tempo e fatica.
Passo 1Il primo passo che devi fare è scaricare l'applicazione cliccando sul pulsante di download qui sotto. Dopo aver scaricato l'app, avviala. Basta cliccare sull'icona dell'app che apparirà sul tuo desktop.

PROVALO GRATIS Per Windows 7 o successivo
 Download sicuro
PROVALO GRATIS Per Mac OS X 10.13 o successivo
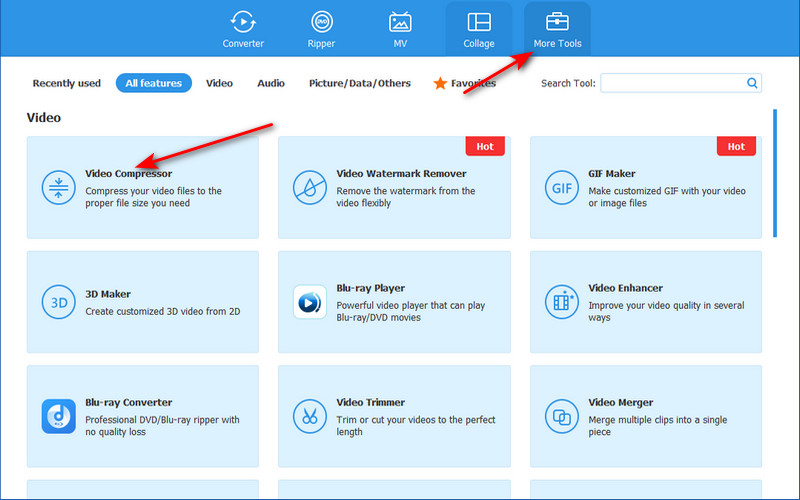
Download sicuroPasso 2Dopo aver avviato lo strumento, vedrai l'interfaccia principale. Fai clic su Altri strumenti e trova il Compressore video. Accedi semplicemente al Video Compressor e importa i video che vuoi comprimere cliccando sul grande + pulsante. Cliccando su questo pulsante si aprirà la tua directory, consentendoti di navigare tra i tuoi file.
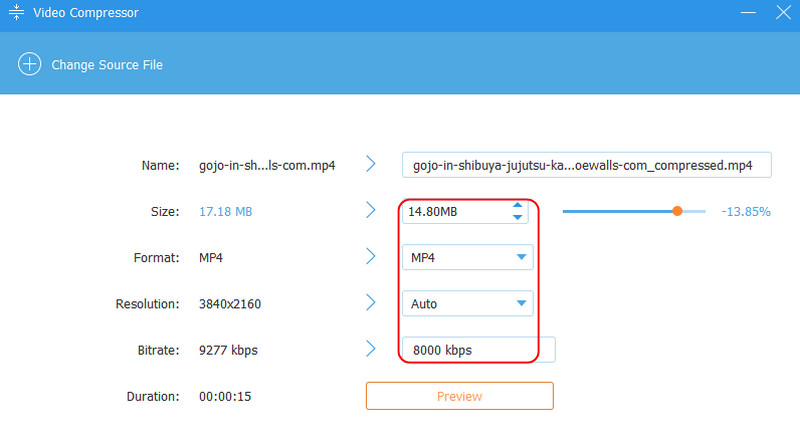
Passaggio 3Dopo aver importato i file, puoi regolare le dimensioni, la risoluzione, il bitrate e il formato del video. Regola queste impostazioni a tuo piacimento semplicemente attivando il pulsante dedicato.
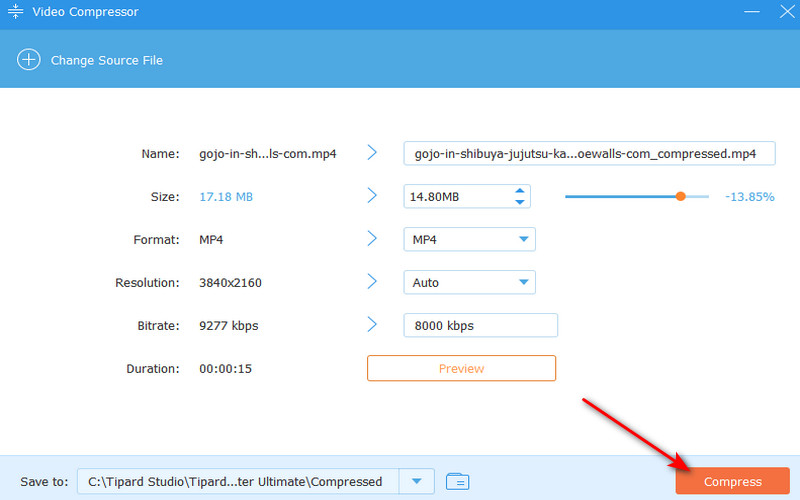
Passaggio 4Dopo aver regolato le impostazioni del file, puoi comprimerlo. Basta cliccare su Comprimere pulsante nell'angolo in basso a destra della finestra dell'applicazione. Il tuo file compresso verrà salvato nella directory locale dell'applicazione.
Parte 3: Comprimere un video su iPhone con app di terze parti su iPhone
Compressione video
Video Compress è una potente applicazione che comprime le dimensioni dei file video con iPhone. È una scelta popolare tra gli utenti perché gestisce video ad alta definizione che solitamente consumano molto più spazio di archiviazione. L'app è stata eccezionale perché contiene un'interfaccia molto semplice in cui gli utenti selezionano facilmente un video e il livello di compressione desiderato per ottenere un equilibrio ideale tra qualità e dimensioni del file. Con Video Compress, gli utenti possono visualizzare in anteprima le modifiche alle dimensioni del file in tempo reale, così sanno esattamente come le impostazioni di compressione influenzeranno l'output. L'app ti aiuterà sicuramente a imparare come comprimere i video di iPhone.
Passo 1Per prima cosa, scarica questa app dal marketplace del tuo cellulare. Una volta scaricata, puoi trovare l'icona che appare nella schermata principale del tuo telefono e toccarla per aprire l'applicazione.
Passo 2Dopo aver avviato l'app, vedrai la sua interfaccia principale e noterai un arancia pulsante. Fai clic su quel pulsante per importare il video. Facendo clic su questo pulsante verrai indirizzato alla tua galleria, dove potrai selezionare il file che vuoi comprimere.

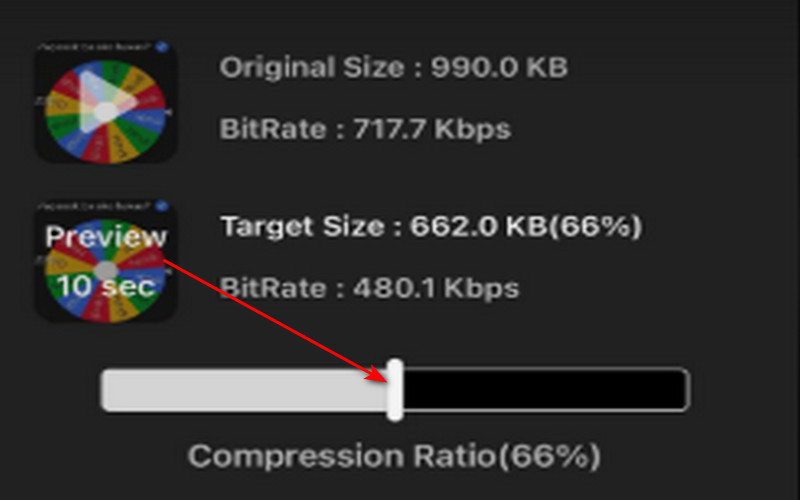
Passaggio 3Dopo aver importato il video, puoi ora selezionare il suo rapporto di compressione. Basta attivare/disattivare l'opzione Rapporto di compressione cursore sotto il video in uscita.
Passaggio 4Dopo aver impostato il rapporto di compressione, puoi esportare il video. Basta cliccare su esportare icona nell'angolo in alto a destra dell'interfaccia della tua app. Il video in uscita sarà disponibile nella tua galleria per la visualizzazione.
Comprimi video e ridimensiona video
Compress Videos and Resize Videos è un eccellente, estremamente comodo ed efficiente riduttore di dimensioni video su iPhone. Questo vale per gli utenti che hanno costantemente a che fare con video ad alta definizione che occupano un'enorme quantità di spazio di archiviazione. Si differenzia per essere semplice con l'interfaccia, in quanto qualsiasi utente troverà estremamente facile scegliere quale video comprimere e il livello di compressione desiderato tra qualità e dimensione del file.
Con Compress Videos e Resize Videos, un utente può visualizzare in anteprima e vedere le modifiche delle dimensioni dei file con aggiornamenti in tempo reale, risultanti da impostazioni di compressione variabili verso l'output effettivo. Grazie a questa capacità, non avrai problemi a comprimere i video sul tuo iPhone.
Passo 1Il primo passo è scaricare l'applicazione sul tuo app market. Dopo aver scaricato l'applicazione, individua l'applicazione sulla tua schermata iniziale. Dopo averla individuata, avviala cliccando sull'icona dell'applicazione.
Passo 2Dopo aver avviato l'app, noterai un Seleziona i video da comprimere pulsante dove puoi importare i tuoi video. Cliccando su questa icona verrai indirizzato alla tua galleria, dove potrai scegliere quali video comprimere.
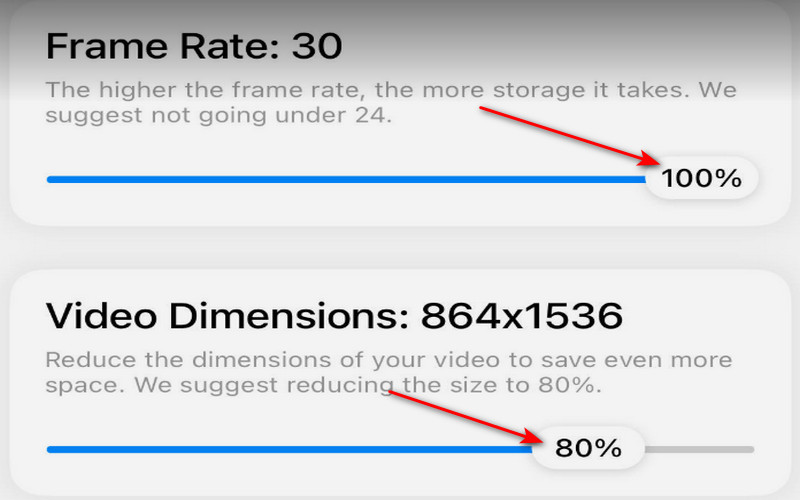
Passaggio 3Dopo aver selezionato il video che vuoi comprimere, ora potrai regolare il frame rate e le dimensioni del video. Attiva il cursore del Frequenza dei fotogrammi e Dimensioni video.
Passaggio 4Dopo aver attivato le impostazioni desiderate, puoi iniziare a esportare il video. Per farlo, clicca su Comprimere nella parte inferiore dell'interfaccia dell'app.

Dopo aver letto questo articolo, speriamo che tu abbia imparato come comprimere un video su un iPhone gratuitamente. Puoi sempre dare un'occhiata a questo articolo se hai problemi a seguire il processo. Inoltre, puoi sempre condividere questo articolo con i tuoi amici che hanno difficoltà a comprimere i video.
La tua cassetta degli attrezzi video completa che supporta oltre 350 formati per la conversione in qualità senza perdita di dati.