Resizing a photo involves adjusting its size, either smaller or larger, without removing any parts of the image. This modification allows you to scale the image proportionally while keeping its content intact. A common reason for resizing images is to reduce the size of large files, making them easier to email or share online. However, some tools may affect the file size and image quality.
Presenting PowerPoint's image resizing functionalities, guiding you through straightforward yet effective methods for adjusting photo dimensions. This lets you personalize your images to preferred sizes without compromising crucial details. Additionally, discover its primary alternative boasting similar capabilities.
Part 1. Guide on How to Resize a Picture using PowerPoint
This part will walk you through a detailed step-by-step tutorial on resizing pictures in PowerPoint. We'll cover essential techniques like resizing a picture in PowerPoint without causing Distortion and adjusting images across multiple slides. Without further discussion, let's take a look at this informative guide.
How to Resize a Picture in PowerPoint
We're familiar with Microsoft products like MS PowerPoint and recognize their widespread use in professional and personal settings. An intelligent way to use this software is for resizing photos. Beyond crafting presentations, you can alter the dimensions of your images through features like the crop tool, adjusting height and width, or modifying the aspect ratio. Furthermore, PowerPoint offers tools to edit photos, such as separating the subject from the background, utilizing color correction, or applying artistic effects.
Here is the step-by-step process for resizing photos in PowerPoint.
Step 1Download and install Microsoft PowerPoint on your computer. Once the installation is complete, launch the application and familiarize yourself with its interface.
Step 2Locate the Insert tab on the tab bar and click Pictures. The computer file folder should appear. From here, browse your files and select the specific photo to resize.

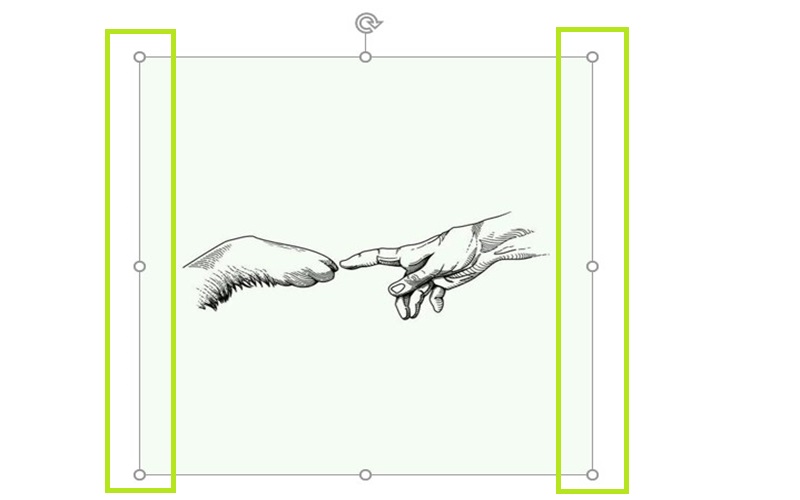
Step 3After selecting the desired photo, it will be displayed on the blank slide. Along the photo's edges, you will notice Points that can be used to transform and scale the photo.
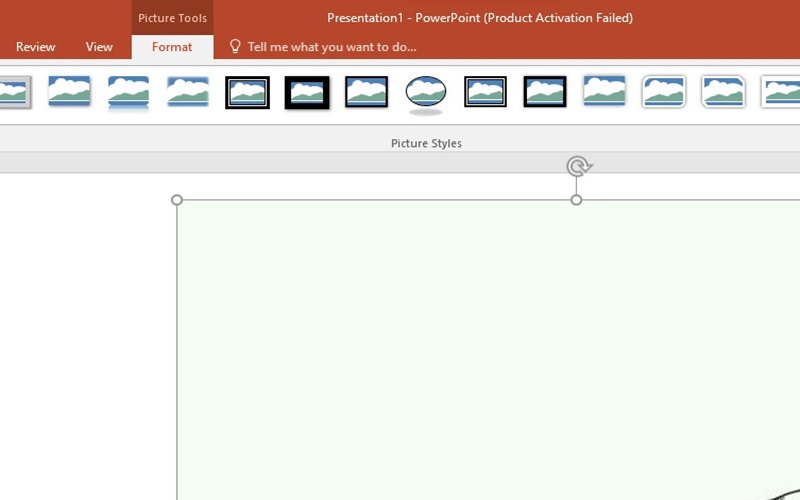
Step 4Then, navigate to the Format tab to see the properties you can modify. You can find properties available for modification in the right-most part of the menu.
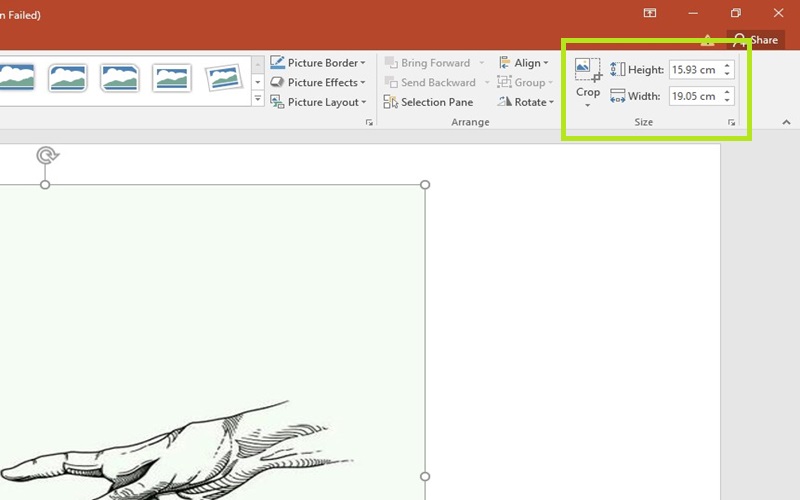
Step 5Lastly, to resize the photo by removing certain parts, open the Crop menu in the right-most part of the ribbon. Then, set the values for height and width to resize the photo.

How to Resize a Picture using PowerPoint Without Distorting
To resize an image in PowerPoint without causing any distortion, look at these straightforward steps. By following these steps, you can resize your images in PowerPoint while maintaining their proportions and avoiding any undesirable distortion.
Step 1Navigate the Insert tab on the tab bar and click Pictures. Browse your files and select the specific photo to resize.

Step 2Then, navigate to the Format tab and locate the Size group.
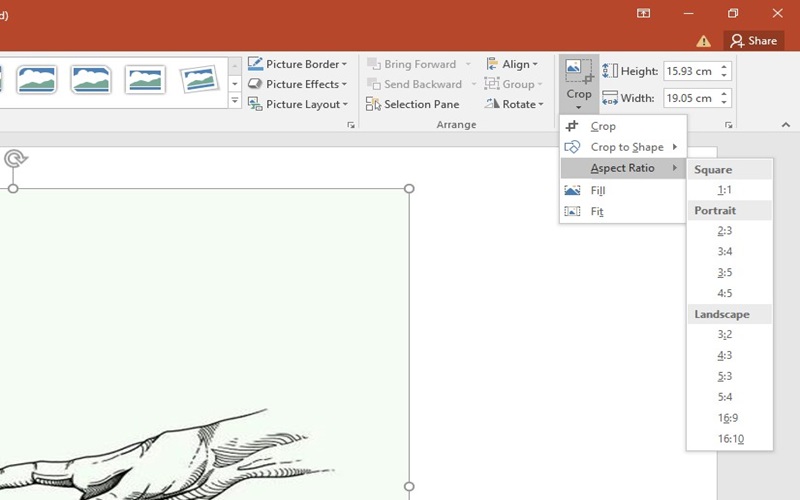
Step 3Lastly, Check the box labeled Lock Aspect Ratio. This ensures that the aspect ratio is maintained when you resize the image, preventing distortion.
Part 2. Efficient Way to Resize a Picture Using AVAide Image Upscaler
In this part, we'll walk you through the highly efficient and easy process of resizing images using AVAide Image Upscaler. We intend to find an online tool that is convenient and user-friendly. The AVAide image upscaler offers numerous advantages, making image resizing a straightforward and hassle-free experience for users. Without further discussion, let's promptly explore this photo resizing tool.
Step 1Once the AVAide Image Upscaler website is accessed, locate and click the Choose a photo button. This action will prompt your computer's file folder to appear, enabling you to browse through your files and select the particular photo you wish to resize.

Step 2Upon selecting your desired photo, you will have the option to choose the degree of resizing. AVAide Image Upscaler offers resizing options ranging from 2×, 4×, 6×, and 8×.
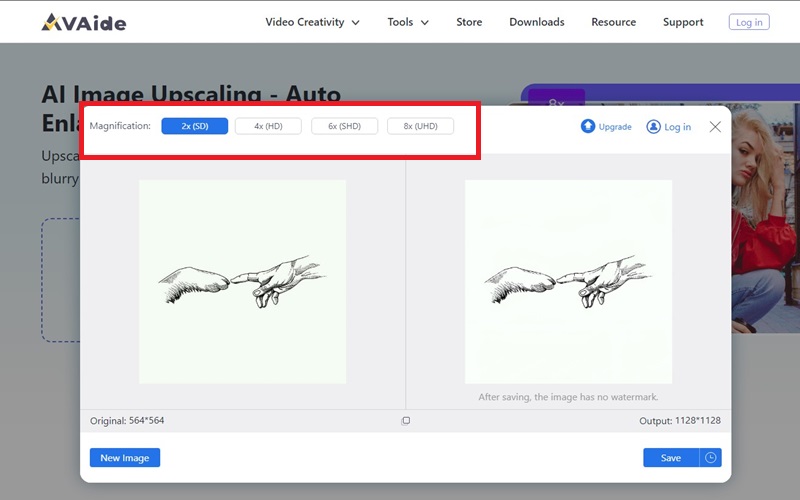
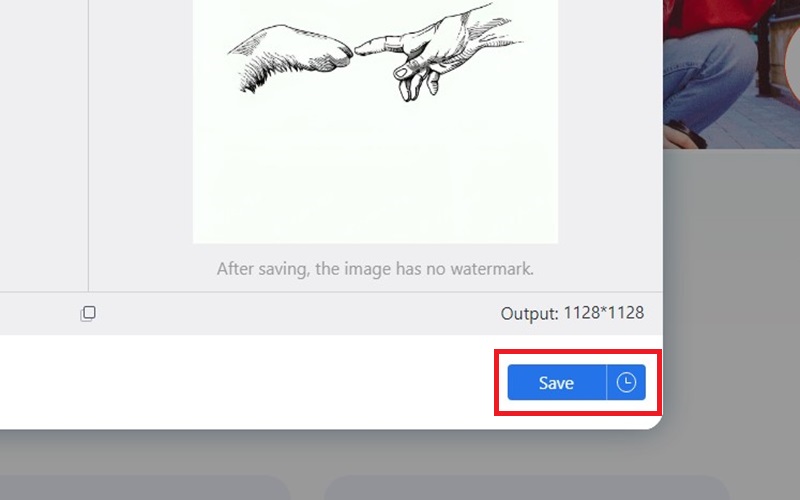
Step 3After choosing your preferred resizing scale, click the Save button. The action will initiate the download process, and you will find the resized image automatically saved in your computer's download folder.
Part 3. FAQs about PowerPoint Picture Resizing
How can you change the size of images on multiple slides within PowerPoint?
Start the application on your computer and insert one photo for each PowerPoint slide. Then, adjust the size of each photo individually. Once you've resized, access the Export section within the File menu. Next, pick a format, specify a save location, and opt for "All Slides" in the ensuing dialog box.
Is it possible to maintain the initial photo quality following resizing in PowerPoint?
Yes, it is possible to maintain the photo quality as long as the changes in the photo are not too extreme. However, if you significantly enlarge a tiny image, there is no assurance that the quality will remain the same.
Can I resize an image without Distortion?
Yes, PowerPoint is freely accessible on your device if downloaded. Alternatively, for online tools, numerous options are available for resizing images without distortion. One notable tool is AVAide Image Upscaler, featuring automatic AI enhancements to maintain image quality post-resizing.
PowerPoint is commonly recognized for its role in creating presentations. However, it has a versatile feature set that extends beyond presentations. You can harness the power of PowerPoint for various photo editing tasks, including resizing images in PowerPoint. Furthermore, we continue exploring PowerPoint's photo editing capabilities in this article. We also introduce an online tool that simplifies the resizing and upscaling of images, making these tasks hassle-free and efficient.

Image Upscaler
Our AI technology will automatically enhance the quality of your images, remove noise and fix blurry images online.
TRY NOW


